Your cart is currently empty!
Steps to Install Replacement Fenders on a Classic Chevelle
Posted on: April 12, 2026 in Guides
Installing new fenders on a classic Chevelle is more than just swapping metal. The way the panels align with the rest of the car plays a big role in how the finished build will look and feel. Poor fit can throw off your door gaps, mess with your hood lines, and cause problems when it’s time to paint. That’s why good prep, the right tools, and steady steps matter. As spring kicks in and garage doors stay open longer, now is a smart time to start laying in replacement panels and getting the body lined up fresh.
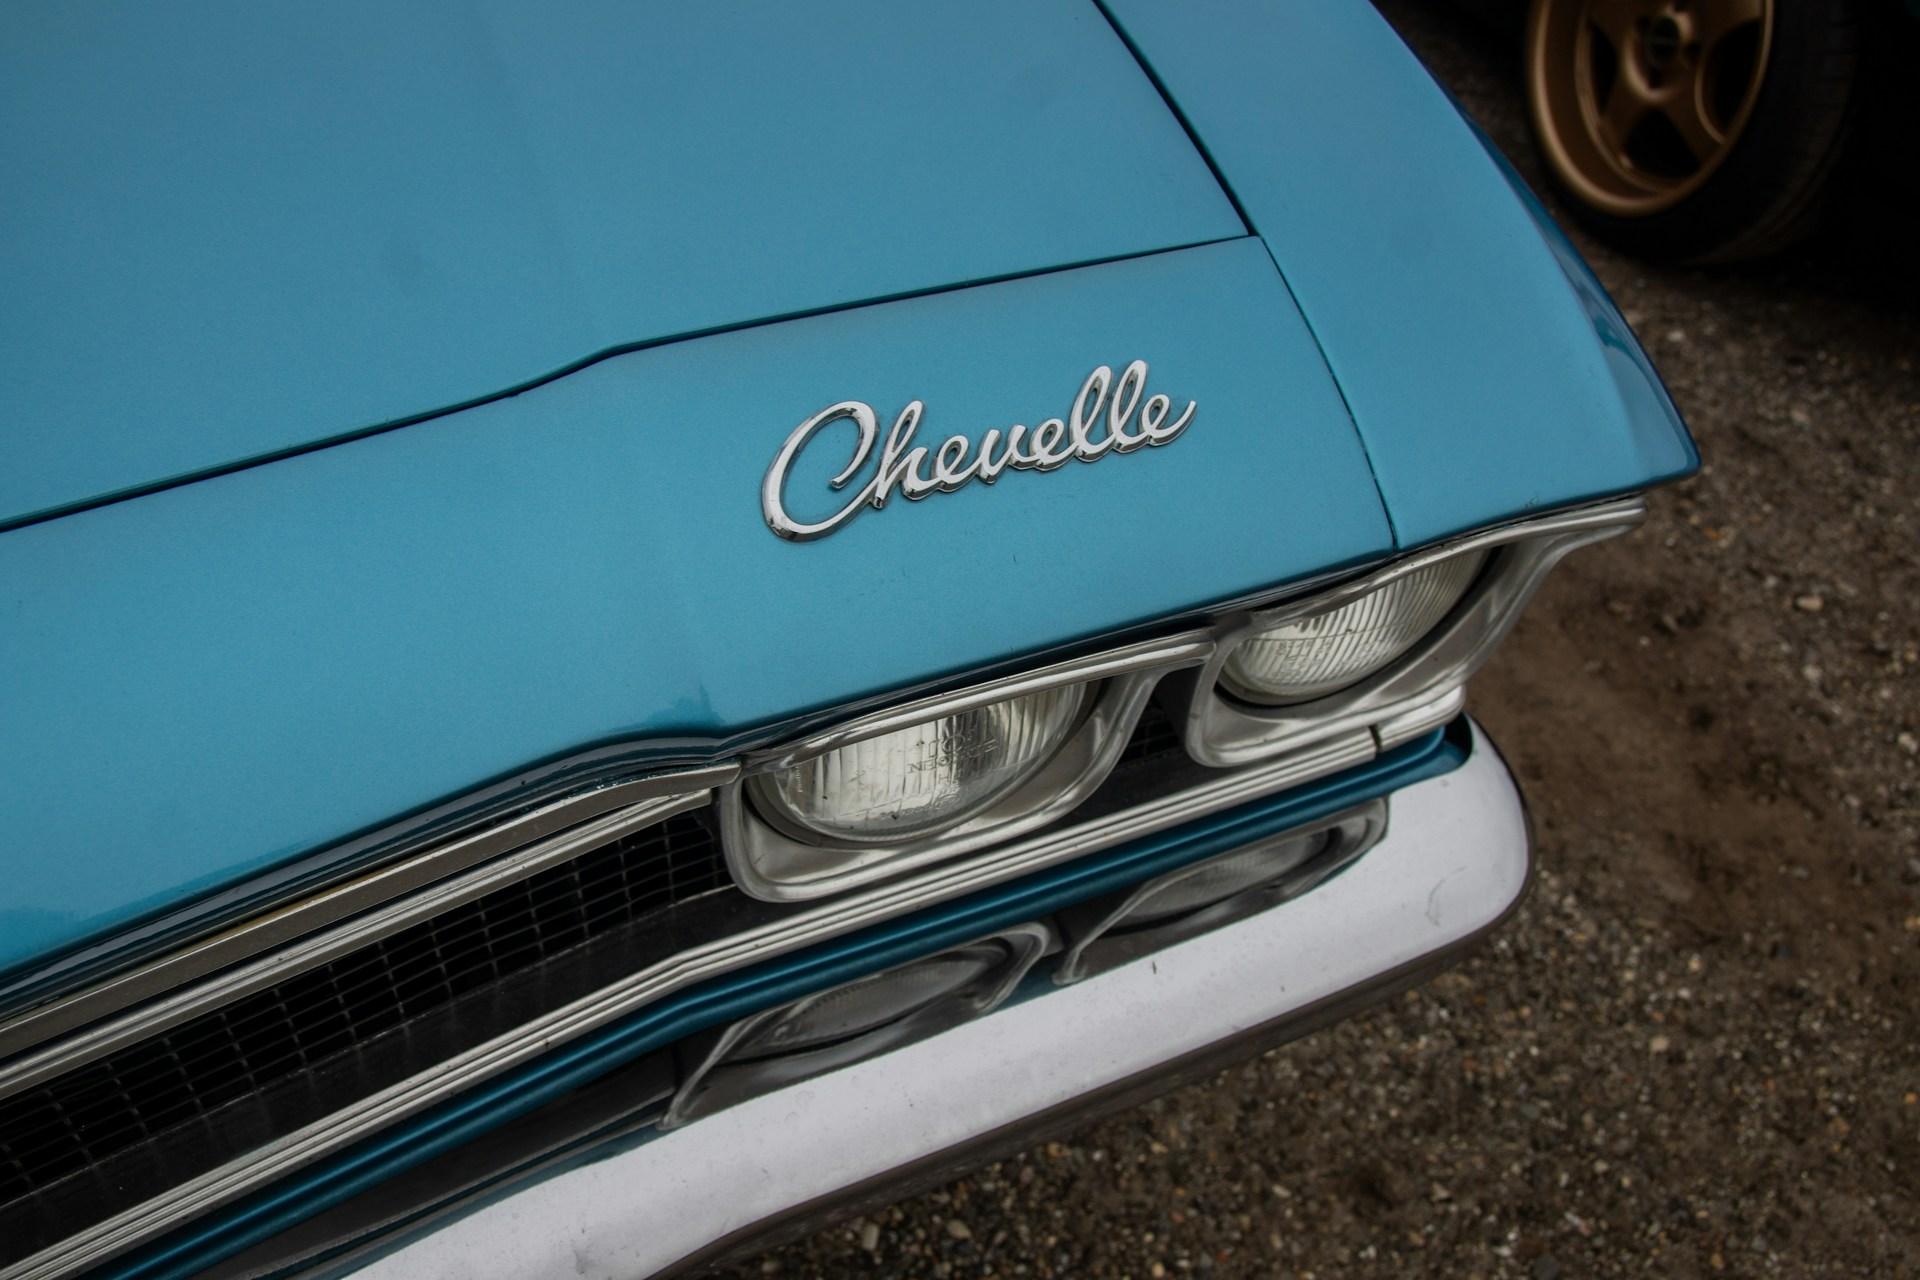
When it comes to Chevelle body panels, fenders take most of the road wear and age. Replacing them correctly sets the tone for the rest of the bodywork. This article walks through the major steps for removing old fenders, setting new ones in place, and checking the lines before everything gets sealed and reassembled.
Preparing the Car Before the Fenders Come Off
Before you unbolt anything, you will want to create a clean and consistent work area. Here is how we start every fender swap:
- Park the car on level ground so panel measurements stay true. Uneven surfaces can throw off how the panels sit.
- Make sure there is plenty of light and space to move around both sides of the vehicle. Good visibility makes a difference when lining up edges.
- Disconnect the battery to avoid shorts while removing lights or wiring near the fender.
Then, take a moment to study the current fender alignment. Use tape or a fine marker to mark where the edges line up with the hood, doors, and rocker panels. These reference marks help when you fit the new panel later. Remove any trim, marker lights, or hardware that sits on top of the fender seam. The more clean space you create early, the easier the job goes.
Removing the Old Chevelle Fenders with Care
Once the car is prepped, it is time to loosen and remove the old fenders. Older Chevelle body panels often have bolts that are rusted or hidden behind trim.
We follow this general order for safe removal:
- Start with the bolts under the hood lip and along the inner wheel wells.
- Continue along the door side seam and front core support area.
- Use a magnetic tray or small containers to keep bolts, washers, and shims organized.
If there is body filler or paint overlap near the seams, use a thin plastic spatula or padded trim tool to separate the panel without chipping nearby areas. It helps to have another person ready if the fender is still connected by wiring harnesses or needs to be guided clear of the door. Small dings happen fast when panels swing loose with no support.
Prepping and Test-Fitting Your New Fenders
Once the original panel is off, it is time to unpack your new fenders and check them out. Do not assume every panel fits directly out of the box. Even high-quality stamped metal can shift slightly during shipping or need minor fitting.
Start with these checks before moving forward:
- Lay the new fender on padding and inspect for any edge damage or bends.
- Compare mounting holes, bolt tabs, and stamped curves against the removed panel.
- Set the new fender in place for a dry fit, using a few temporary bolts to hold it.
This is where you might spot small problems such as misaligned mounting tabs, an uneven curve at the hood line, or gaps at the door seam. Small tweaks with a soft mallet or bracket adjustments can make a difference when tightening things down. Check that the fender’s edge curves in clean toward the door and that the wheel opening clears smoothly across the tire. Fitting at this stage avoids problems once paint and final assembly start.
Securing and Aligning the New Panels
When the dry fit looks right, it is time to bolt the new panel in place. Do not tighten anything completely at first. It is better to work in stages and leave room to shift things around.
This is the approach for full alignment:
- Insert all hardware loosely to avoid pulling the panel out of square too early.
- Adjust top and rear edges first, getting hood and door gaps even side to side.
- Tighten in small steps, working in a pattern to keep pressure uniform across the panel.
It helps to view long body lines from a few feet back while fine-tuning. Open and close the door slowly to check for rub points or panel flex. Make sure the hood clears the fender line fully without scraping when it lowers. A good fit means tight, uniform seams that stay consistent across both sides of the car.
Once everything stands even and the fender feels stable, go through and tighten every bolt to spec, using the proper torque where it applies. Double-check gaps once more before moving on.
Final Touches Before Paint and Reassembly
Now that the fender is secure, you are into the final prep stage. This is about getting the surface and seams ready for bodywork or primer later.
Complete these last details before getting abrasive:
- Scuff the full surface of the new fender lightly with fine-grit paper so surfacer adheres properly.
- Check panel lines for small low spots or misalignments that might need light filler or block sanding.
Next, reinstall any trim, lighting brackets, or hardware removed earlier. This step lets you verify that final parts still line up with the new panel. Finish by running your hands gently across all edges. Catching early transitions helps make the next stage of finish work smoother.
For the inner structure around the fender area, we also offer OER 1964-65 Chevelle front fender well splash apron sets for Chevelle and El Camino models that are in stock and typically ship within two to three business days, giving you fresh protection for the inner fender wells to match your new outer sheet metal.
Get a Cleaner Fit by Starting Smart
Swapping fenders on a Chevelle starts with planning. Your whole front end depends on getting things square and tight early. When the new fenders match the rest of the Chevelle body panels, everything down the line fits better, doors close correctly, hood lines stay aligned, and trim bolts on without stress.
Starting with a solid fit now saves time during sanding, priming, and painting. It helps avoid uneven gaps or warped shapes once body filler and coating layers go on. When the fender install is handled properly, you are set up for a result that does not have to hide mistakes. That is what leads to a build that stands the test of time.
At Classic Body Parts, we make panel fitment and quality a priority in every restoration step. Whether adjusting door gaps or lining up the hood edge, having the right materials changes everything. For new fenders and more, explore our full selection of Chevelle body panels from trusted brands like Dynacorn. Built to match factory specs, these panels help your finish work go smoothly. If you have questions or need help choosing the right setup, give us a call.
Related Articles

How to Evaluate Classic Body Parts for Fit and Quality
With spring weather warming up, car projects return to the driveway. The covers are lifted, checklists made, and for many […]

Understanding the Difference Between Dynacorn and OER Panels
When it’s time to replace damaged or worn body panels during a restoration, one of the first decisions you’ll face […]

Top Methods for Installing Mustang Sheet Metal Panels Safely
Spring is when most garage projects start picking up again. The weather is mild, there’s more light in the day, […]