Your cart is currently empty!
Tips for Identifying Authentic GM Restoration Parts
Posted on: January 11, 2026 in Tech Tips
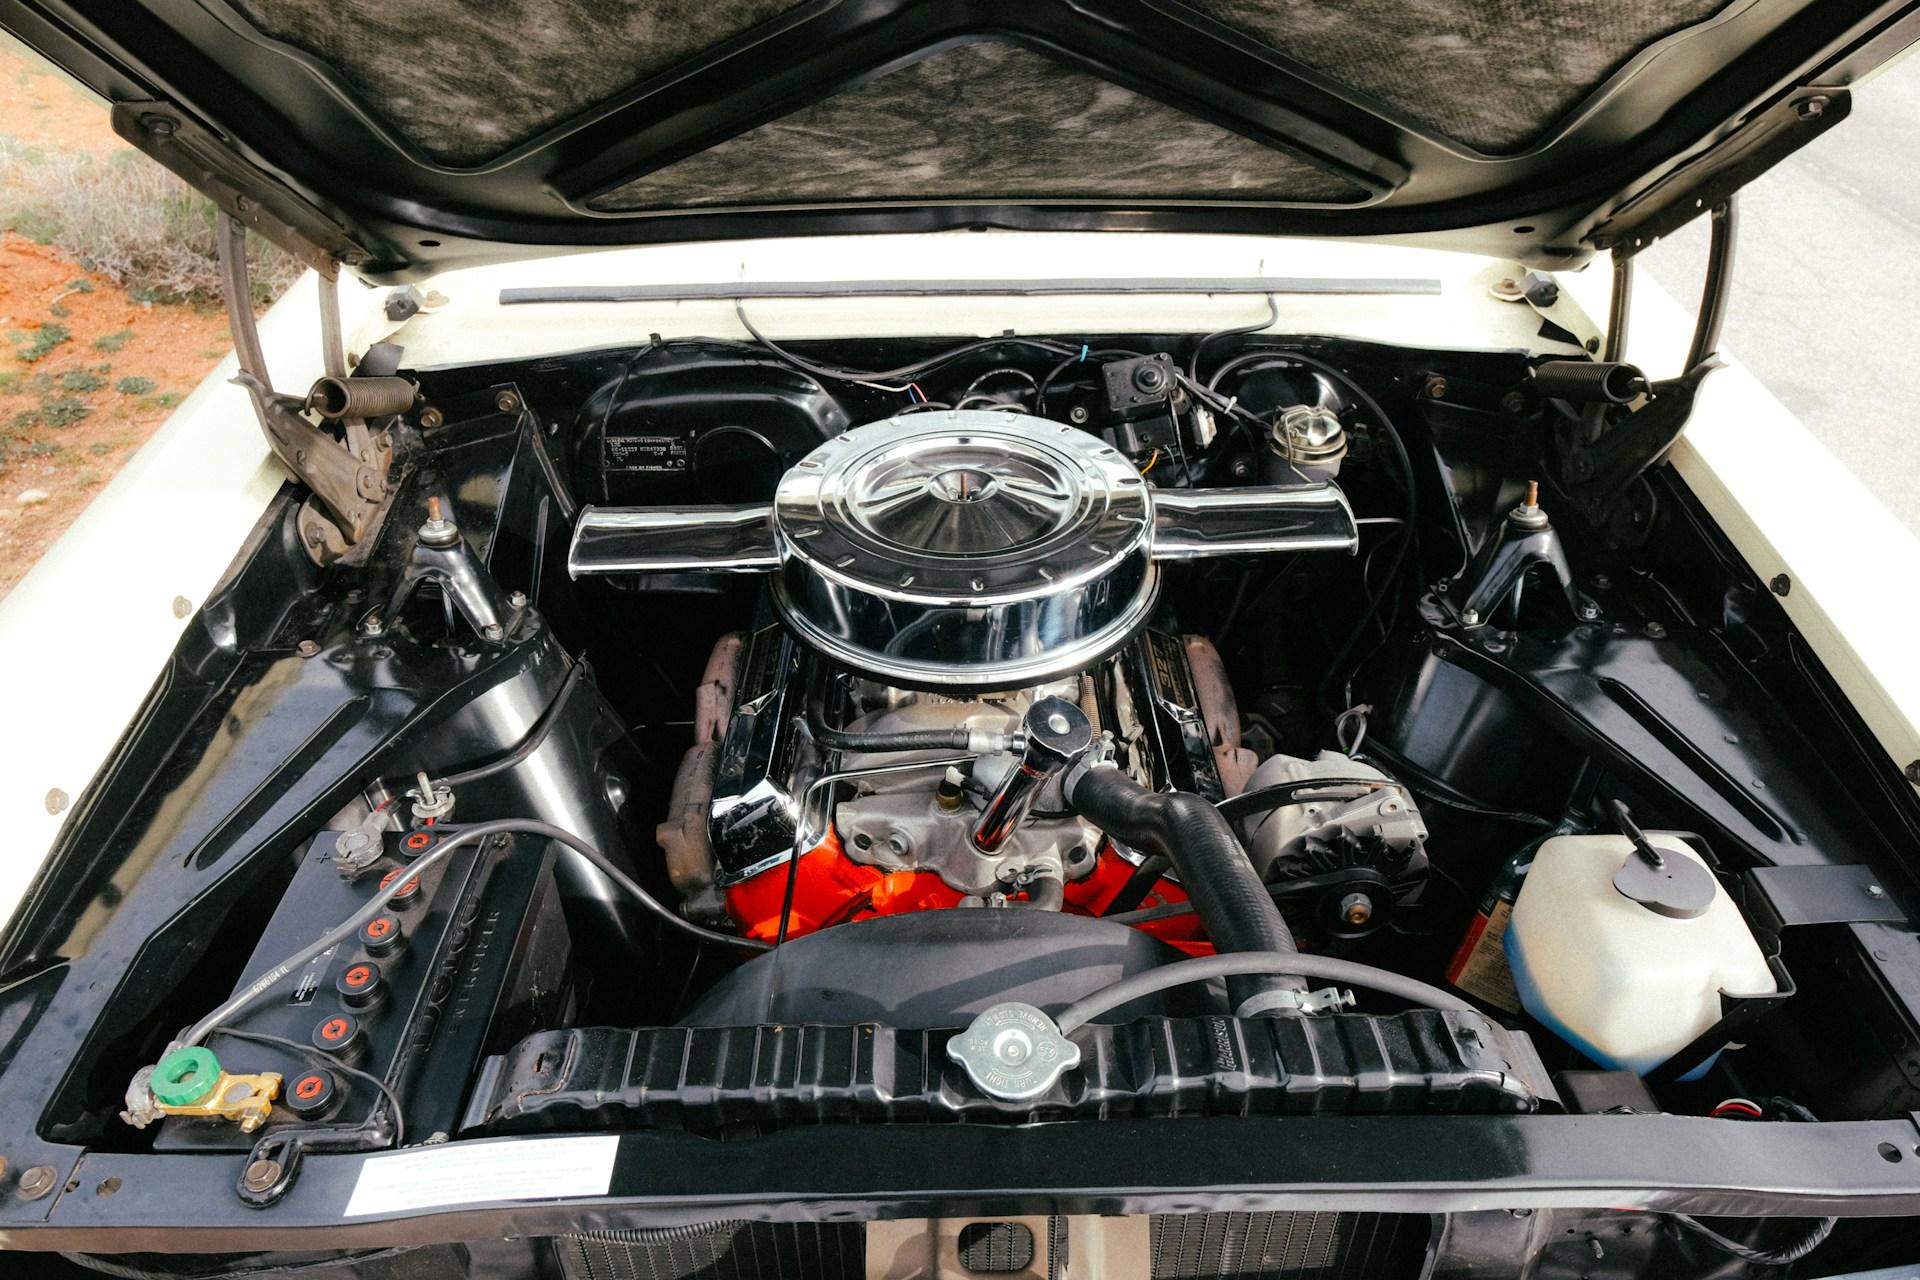
GM restoration parts are one of the first things we look for when we’re getting a classic car or truck ready to rebuild. Good ones make things go smoother. Bad ones slow everything down. The challenge comes when you’ve got shelves full of panels and a few of them “look right” but don’t actually fit like they should.
There’s no shortage of parts that claim to be authentic, but matching that claim to reality is where experience helps. Over the years, we’ve gotten better at spotting the ones that measure up, by the way they feel in hand, how the edges line up, and whether or not they even look like the originals. If you’re building something with history, the details matter more than ever. Spotting and choosing real GM restoration parts early makes the rebuild easier, the lines cleaner, and the finished car feel like it should.
How Authentic Parts Make a Difference
It’s one thing to find a panel that looks OK from a distance. It’s another to fit it onto a classic body and expect it to behave like it came from the factory. The right parts match the design, thickness, and form of the originals.
Here’s what we see with precision parts that are built the right way:
• They follow GM’s factory specs, so they’re shaped right, and the stamped lines match the rest of the body
• Mounting points, bolt holes, and fold lines match up without needing to cut or shift other pieces
• They don’t wrinkle, kink, or flex when fitted into corners or tight seams
Low-end replacements can throw off everything. You might notice that door gaps widen, hood lines slope, or you spend more time grinding than welding. Over time, those gaps and shifts turn into stress points, and that’s where paint cracks or rust sneaks in. Getting the right part isn’t just about looks. It changes how the whole body holds up.
Visual Cues and Stamping Marks to Watch For
Sometimes you can spot the difference in a second. Other times, it takes a closer look. Real restoration parts, especially licensed ones, give themselves away with the little things. And when you’re trying to keep things original, little things add up fast.
A few places to look when checking panels:
• Factory stamping marks, labels, or engravings tell you who made the part and whether they had permission to do it
• Sharp curves, clean edges, and even shapes that match the original body lines without feeling off
• Proper cutouts for trim, lights, and brackets, if a part looks like it’s missing something obvious, it probably is
Fake or lower-end parts sometimes have odd textures. Some may have thick paint or surface coatings that hide flaws. A part that doesn’t show detail clearly or has a slick, polished finish that looks out of place should raise a few questions.
Material and Thickness Differences
Weight doesn’t always tell the full story, but steel thickness makes more of a difference than people think. The original GM panels had a certain feel to them, not too light and not impossible to handle. Real GM restoration parts aim to match that as closely as possible.
When we’re checking body panels, here’s what we feel for:
• Consistent thickness across the surface, especially near bends and flanges
• Enough strength to support weight without movement or sag
• A finish that takes primer and welds without needing extra prep or correction
Thinner metals often warp as soon as they’re clamped or test-fitted. They sometimes make a pop when pressure is applied, which means they’re flexing too far. That flex shows up months later as panel movement, cracked filler, or weird sounds when you shut the door or lift the hood.
Why Fit, Alignment, and Gaps Matter
Body panels don’t exist on their own. If one doesn’t line up right, it forces everything around it to shift. And in a classic rebuild, those shifts ruin the lines you’ve worked so hard to straighten.
Here’s what a good fit looks like:
• The panel settles into place without needing to force or clamp it into a weird angle
• Gaps stay even from side to side, around doors, bedsides, hoods, or valances
• Trim holes stay in line with chrome or moldings, without drilling new ones to adjust
When a part is off, it’s more than a hassle. It starts a chain reaction. You might need to trim extra metal on the opposite side, move a bracket, or change how the fender bolts to the frame just to make it work. Fitting the right parts from the start keeps things simpler and smoother, and everything around them benefits too.
Trusted Brands That Actually Deliver
Not every brand cuts corners, and there are some that have gotten it right for years. Dynacorn is high on our list because their stuff tends to fit clean without a fight. They’ve nailed a lot of original shapes, and that’s huge when you’re working with both factory and replacement parts during a rebuild. We also work with OER on officially licensed GM restoration parts, such as 1969 Camaro rear quarter panel louvers that use chrome-plated zinc die-cast construction and follow original contours so they sit correctly on the car. OER focuses on reproducing OEM appearance, quality, and fit for a wide range of GM models, which helps keep your project closer to factory-correct.
The brands we trust usually check a few key boxes:
• Welds that look clean and sit flush, no blobs or warping
• Parts that come coated or prepared the same way every time
• Holes that match bolt patterns and positions without needing to redrill
What it comes down to is confidence. When we unpack a panel that meets all those standards, we know it’ll fit with fewer surprises. We can focus on finishing work instead of reshaping something that never fit to begin with.
Stay Ahead by Choosing the Right Parts from the Start
Restoring classic GM vehicles isn’t about straight lines and coat after coat of paint. It’s about giving these cars and trucks the structure they need to hold up once they’re back on the road. A strong rebuild starts with real parts. They take less effort to install, match the original build, and support the whole body as one solid piece.
As winter begins to wind down, now’s the time we start planning for what’s next. Warmer weather usually means more wrench time, so having the right parts in place now makes spring that much easier. Matching quality with fit means you spend less time adjusting and more time dialing in the details that make a build your own.
At Classic Body Parts, we know how much smoother your rebuild goes when every piece fits right from the start. Fit, thickness, and finish make all the difference, especially when restoring tight gaps or bringing back a full body line. For panels that align accurately and deliver lasting performance, our selection of GM restoration parts helps keep your build on track. We use consistent materials and work with brands that pay attention to detail. Contact us to make sure your next build starts strong.
Related Articles

How to Evaluate Classic Body Parts for Fit and Quality
With spring weather warming up, car projects return to the driveway. The covers are lifted, checklists made, and for many […]

Steps to Install Replacement Fenders on a Classic Chevelle
Installing new fenders on a classic Chevelle is more than just swapping metal. The way the panels align with the […]

Understanding the Difference Between Dynacorn and OER Panels
When it’s time to replace damaged or worn body panels during a restoration, one of the first decisions you’ll face […]