Your cart is currently empty!
How to Fix Body Parts on a Classic Car with Limited Tools
Posted on: September 21, 2025 in Tech Tips
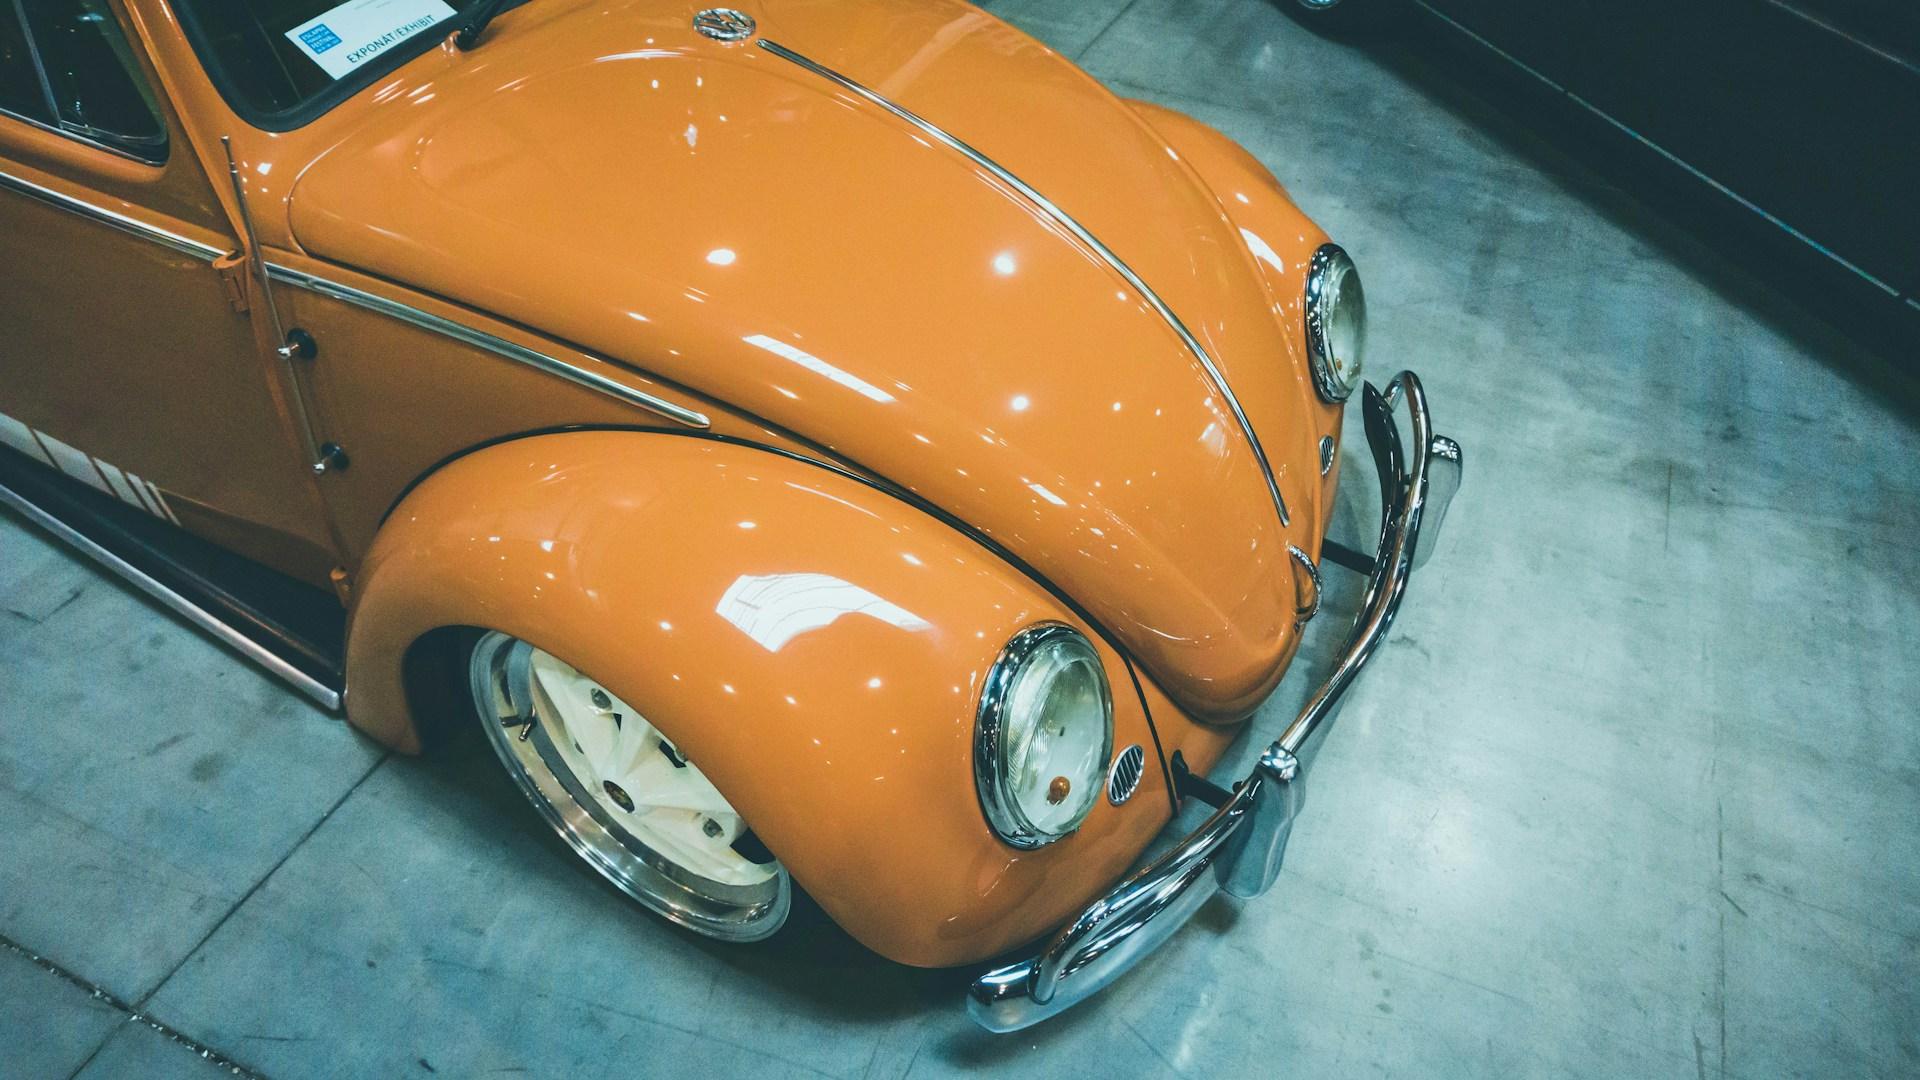
Classic cars often captivate enthusiasts with their timeless beauty and rich history. These vehicles are more than just modes of transport—they are pieces of art from a bygone era. Many enthusiasts cherish the entire process of maintaining and restoring these cars to their original glory. While this journey can be rewarding, it comes with its own set of challenges, particularly when the goal is to fix body parts with only basic tools. The satisfaction of seeing a vintage car shine as it once did can make all the hard work worthwhile.
For those who enjoy the hands-on approach of working on their classic cars, focusing on repairing body parts using minimal tools can be especially appealing. The process not only saves on costs but also allows enthusiasts to connect more deeply with their prized vehicles. By understanding the fundamentals of body repairs, you can tackle common issues like dents, scratches, and surface rust, even with a limited arsenal of tools.
Preparing for Body Repairs
Before jumping into body work, preparation is key to ensuring a smoother process and better results. First, set up a tidy workspace. An organized garage or driveway can make repairs easier and safer. Clear out clutter and ensure there’s enough room to move around the car comfortably. Good lighting is crucial, so you can spot imperfections on the car’s surface and take care of them effectively.
Safety should never be overlooked. Wearing gloves, goggles, and a dust mask is a good idea to protect against sharp metal edges, dust, or paint fumes. Once safety is sorted, gather the basic tools needed for common body repairs. Here’s a handy list:
– Hammer and Dolly Set: Essential for reshaping metal and removing dents.
– Sandpaper and Sanding Blocks: Required for smoothing out surfaces and prepping them for paint.
– Putty Knife and Body Filler: Useful for filling in minor imperfections.
– Screwdriver Set: Needed for removing and reinstalling parts when necessary.
– Soft Cloths and Cleaner: Ensures surfaces are dirt-free before and after repairs.
Having these basic tools ready can help you manage most body repairs efficiently. By aligning everything before you start, the focus remains on the repair tasks instead of interruptions caused by not having the right tools at hand.
Common Classic Car Body Issues
Classic car owners often face a few prevalent issues when it comes to bodywork. The most common are dents, scratches, and surface rust, all of which can detract from a car’s appearance and value. Understanding and addressing these issues not only restores your car’s aesthetic but also prevents further damage over time.
– Dents: Occur from minor accidents or knocks, especially when older cars have softer metal compared to modern vehicles.
– Scratches: Usually arise from wear and tear or debris on the road, compromising the vehicle’s paintwork.
– Surface Rust: Appears when moisture meets unprotected metal, often starting small but potentially expanding if ignored.
Even with just a few basic tools, these issues can be tackled effectively. A hammer and dolly handle most minor dents. Sandpaper smooths surfaces post-repair or readies them for painting, while a little elbow grease and cleaner keep rust at bay. These simple solutions can go a long way in maintaining the classic charm and integrity of your vehicle.
Step-by-Step Guide to Fixing Dents and Scratches
Taking on dents and scratches with basic tools is a manageable task and can bring great satisfaction. Begin with the dents. Using a hammer and dolly set, follow these steps to restore the smoothness of the affected panel:
1. Identify the dent’s pressure points. Work from the outside edges towards the center, gently tapping to avoid further damage.
2. Alternate between the hammer and dolly, slowly flattening the metal back to its original form.
3. Once the dent is reduced, use a sanding block to level out minor imperfections. This prepares the area for any filler if needed.
As for scratches, these can often disrupt the car’s sleek finish. Address them using the following method:
– Start by cleaning the scratched area with a soft cloth and cleaner to remove debris.
– Sand the scratch lightly in a circular motion until the edges smooth out.
– Apply a thin layer of body filler if the scratch is deep, then sand again to level the surface.
– Finish by repainting the area with a matching paint color to restore the appearance.
Replacing Body Panels with Limited Tools
Sometimes, the best solution for extensive damage is to replace the affected panel. With a few tools, you can successfully complete this task. Here’s how to go about it:
1. Begin by unscrewing any bolts or screws linking the panel to the car’s frame, using a screwdriver set.
2. Gently pry the panel away, taking care not to damage surrounding areas. If glued or welded parts are present, additional products or professional help might be required.
3. Align the new panel carefully, ensuring all holes and gaps line up perfectly. This prevents misalignments that can compromise the car’s appearance and functionality.
4. Secure the panel with screws or bolts, double-checking that each connection is tight and secure.
Replacing body panels might sound daunting, but with patience and attention to detail, it becomes an achievable goal even for beginners.
Preserving Your Classic Car’s Elegance
Maintaining a classic car is an ongoing journey. Once you’ve addressed the immediate repairs, consider incorporating regular checks and upkeep into your routine. By doing so, you ensure that your vehicle remains a testament to automotive history for years to come. Simple steps like regular cleaning, undercarriage checks for rust, and keeping an eye on fasteners safeguard your car’s condition.
Think of these efforts as a way to connect with the vehicle, much like one would tend a cherished garden or maintain a family heirloom. Investing time in these tasks provides the benefit of both preserving value and continuing the legacy of classic automobiles.
As you continue your classic car’s restoration journey, remember that the right parts can make all the difference. To ensure the quality repairs your vehicle deserves, explore our range of auto restoration parts at Classic Body Parts. With trusted options from top manufacturers like Dynacorn, you’re set to preserve the timeless appeal of your car and keep it on the road for years to come.
Related Articles

How to Evaluate Classic Body Parts for Fit and Quality
With spring weather warming up, car projects return to the driveway. The covers are lifted, checklists made, and for many […]

Steps to Install Replacement Fenders on a Classic Chevelle
Installing new fenders on a classic Chevelle is more than just swapping metal. The way the panels align with the […]

Understanding the Difference Between Dynacorn and OER Panels
When it’s time to replace damaged or worn body panels during a restoration, one of the first decisions you’ll face […]